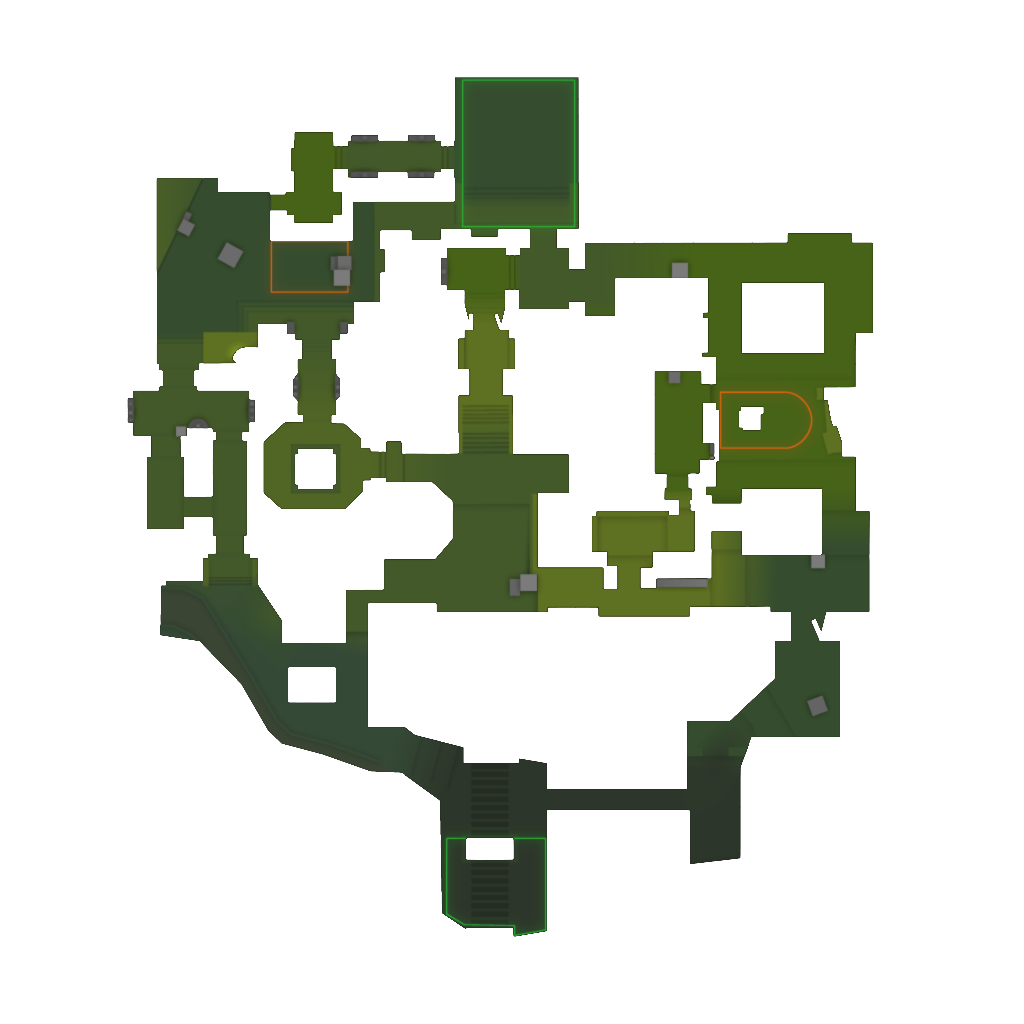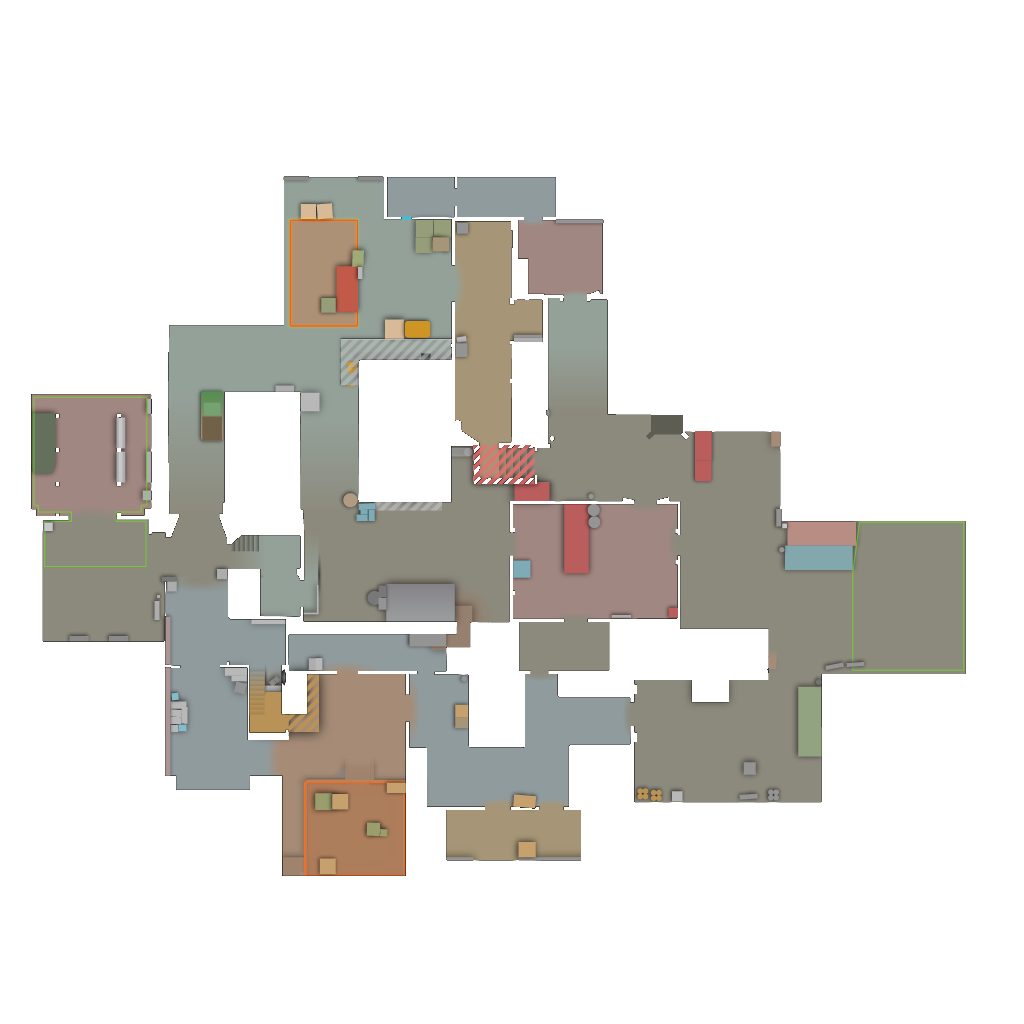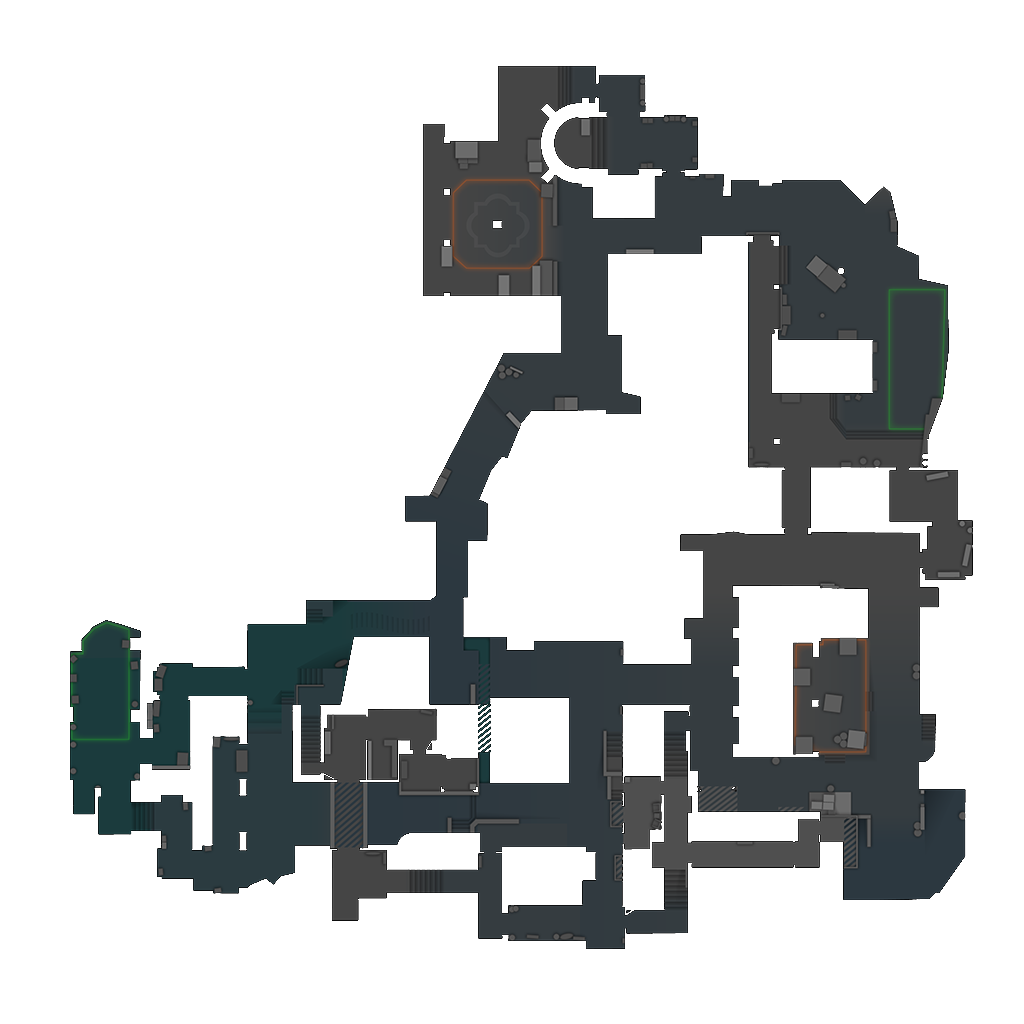
Anubis
T-sided by design (the only clearly T-favored active map): pressure Bridge/Top Mid to split CT forces, then convert into A split or the mandatory two-way B hit (Ruins + E Box together). The Canal’s splash sounds sell fakes.
T-sided by design (the only clearly T-favored active map): pressure Bridge/Top Mid to split CT forces, then convert into A split or the mandatory two-way B hit (Ruins + E Box together). The Canal’s splash sounds sell fakes.
Delay first, rotate second: A1–B1–Mid2–free 1 with molotovs slowing pushes, smokes isolating Heaven and the Connector sightlines. Retake stacked with utility; never chase an enemy away from the bomb.
Key Tactics on Anubis
Mid/Bridge presence freezes CT rotations, then commit 3-2 into either site. Single-lane B hits die in Gate/Pillar crossfires — always take Ruins and E Box at once.
Water fakes cost nothing: two players wade the Canal, four hold timing. Anubis rewards synchronized utility over individual peeks.
T MAC-10/Tec-9 forces exploit the short double-door angles; CT eco hoards molotovs for the retake — «three stacked retakers beat three solo dry pushes».
Sample: 406 rounds (csdb) + 2,405 baseline (Abios) · source csdb.gg / Abios
The most T-sided map in the pool; Premier ladder shows up to ~60% T.
AK-47 dominates; the AWP owns Bridge/Canal/B Long sightlines; close E-Box/Gate duels lift MP9 and HE value.
Anubis Classic Lineups
- From
- Upper platform by the chairs on the T side
- Method
- Jumpthrow
- Lands
- A Main corridor mouth
- From
- Left corner of the rightmost T Spawn doorway
- Method
- Jumpthrow
- Lands
- B site window
- From
- Corner by the rubble outside B
- Method
- Crouch
- Lands
- CT spawn→B entrance lane
- From
- Mid of the Bridge against the canal-side rail
- Method
- Standing
- Lands
- Center of the Canal path
- From
- Edge of the Ruins stairs
- Method
- Jumpthrow
- Lands
- Airburst over the bridge mouth
- From
- Left of the Palace doorway, shoulder on the frame
- Method
- Standing
- Lands
- A Main entry corridor
Lineups compiled from public lineup sites with sources — re-verify in-game; grenade trajectories can shift with patches.
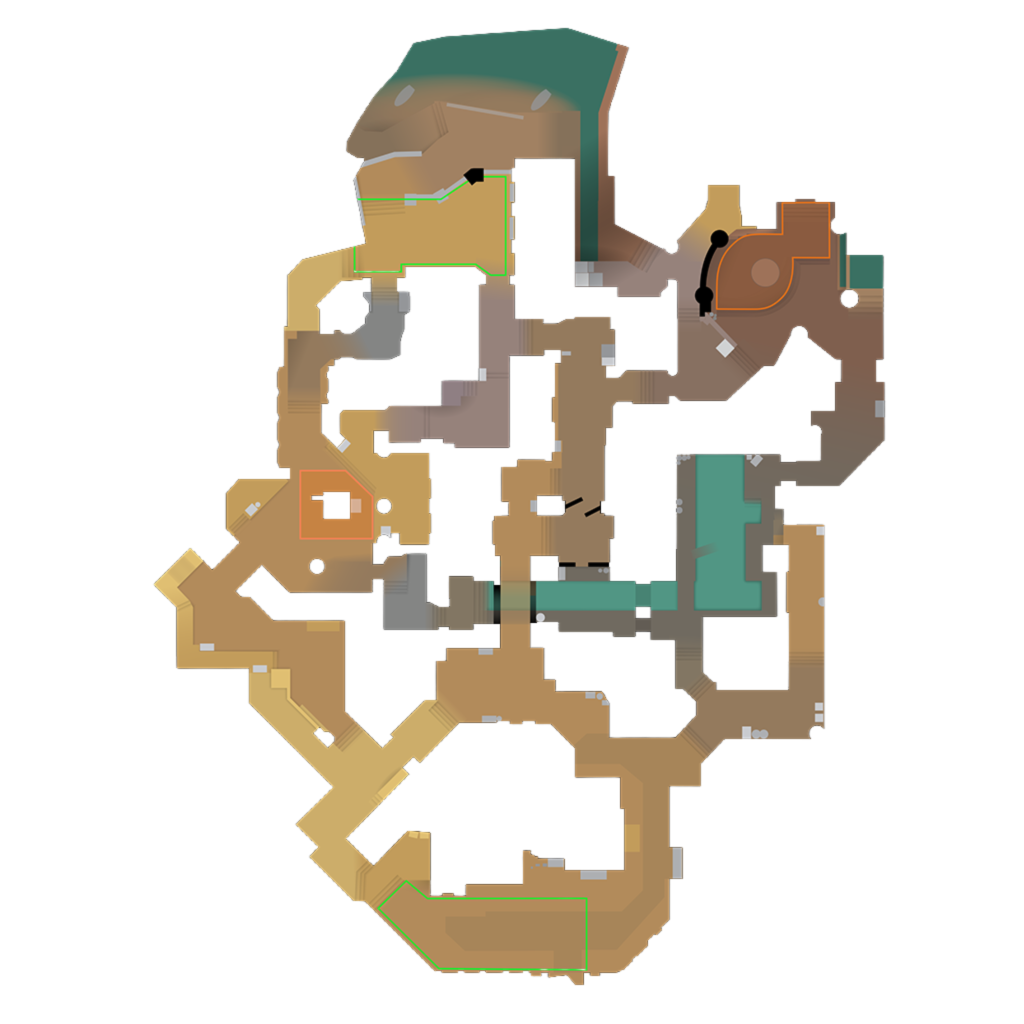
Anubis Callout Map
Note: coordinates for community callout names (Donut, Tomb, etc.) are approximate; official area callouts (A/B sites, CT/T spawn, etc.) use exact in-game data.
Callout List
A’s frontal corridor — solo entry never plants
A bomb plant area
CT platform overlooking A and Main — smoke before entering
CT hall linking B site and mid with the sniping window
Mid overpass across the Canal — pressure both sites from here
Low waterline route; footsteps here are loud by design
Splash = free bait
The central double-door choke into mid
T-spawn ruins corridor into B
Enclosed connector into B’s flank — pairs with B Long
B’s arched main entrance; default plant opposite it
B bomb plant area
Counter-Terrorist spawn
Terrorist spawn