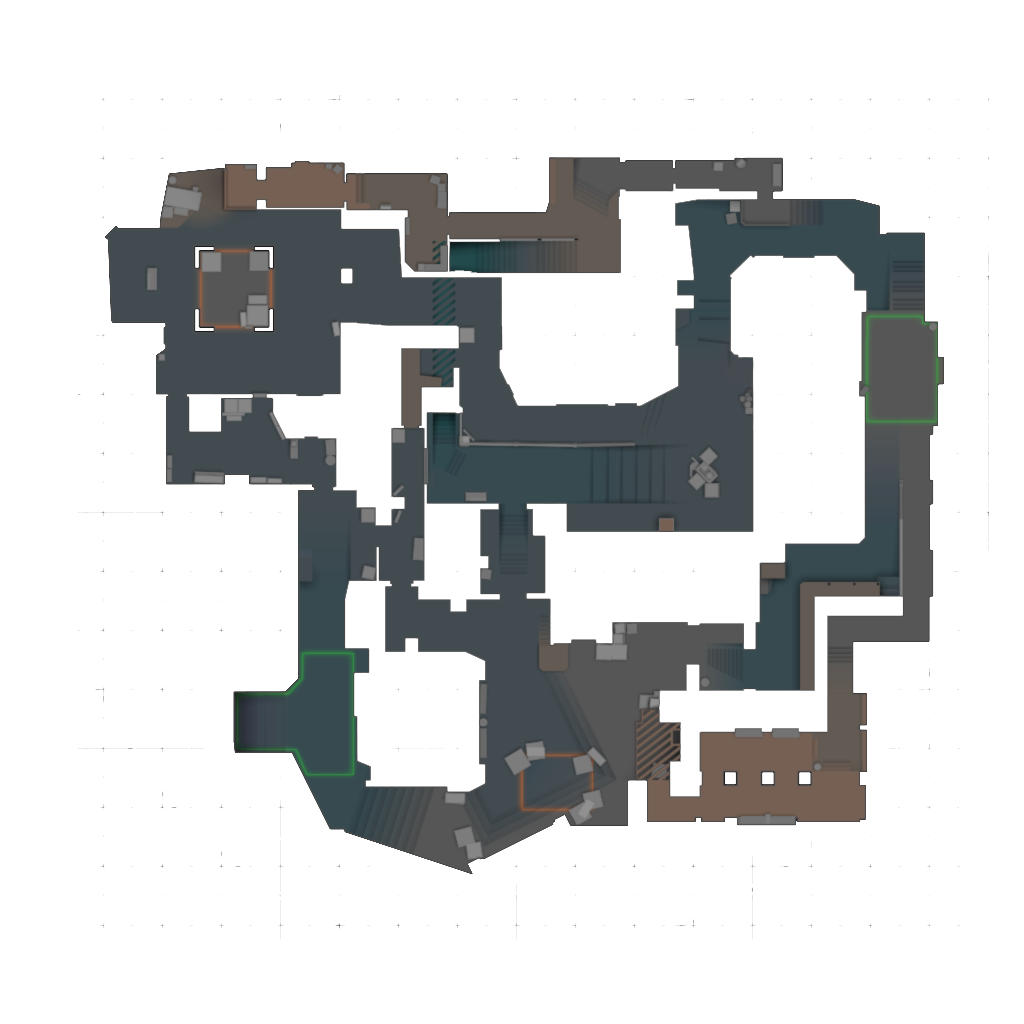
Inferno
Banana (B) is the classic attack axis — the utility chain of molly-smoke-molly-smoke (~30s) decides the map; push A behind Arch/Apartments executes, with many mid-range duels. T sides win on patient 0:55 post-plants, not 1:30 rushes.
Banana (B) is the classic attack axis — the utility chain of molly-smoke-molly-smoke (~30s) decides the map; push A behind Arch/Apartments executes, with many mid-range duels. T sides win on patient 0:55 post-plants, not 1:30 rushes.
Utility defense on Banana and A is the core: three timed molotovs (1:50/1:38/1:20) stall Banana, hold Balcony/Arch angles on A, and never peek Pit into Apps unconfirmed. Rotate via CT lanes instead of pre-smoking Banana.
Key Tactics on Inferno
Time the three-molly chain, plant a mid smoke and a second near Cart, then use Apartments/Arch as the second entry. Winning Banana opens B, threatening it splits CT.
After planting on B, cut the CT with molotovs from Coffins/Garden and hold coffin crossfires. Inferno retakes are utility wars — surviving one rotation usually wins the round.
Three players with molotovs in Banana beat bare rifles; never drop utility to buy an extra gun, and on anti-eco set up Coffins + Fountain crossfires to bait pushes.
Sample: 734 pro rounds (ConsolePCGaming, 12 months to 2026-08) · source ConsolePCGaming / csdb.gg
Balanced; modern Banana control has nudged it slightly T-side per SkinsMetric.
Inferno Classic Lineups
- From
- Lower-left of the Banana slope against the wall recess
- Method
- Jumpthrow
- Lands
- Between CT spawn and the B entrance
- From
- Second mid by the kiosk (pair with Library smoke)
- Method
- Jumpthrow
- Lands
- Arch area
- From
- Opposite corner of front Banana, walk then crouch
- Method
- Crouch
- Lands
- Coffins cluster
- From
- Run from CT spawn, stop at the low wall corner
- Method
- Standing
- Lands
- Top Banana fire blanket (~13s burn)
- From
- Same low-wall corner as the CT molly
- Method
- Standing
- Lands
- Over the roofs onto upper Banana (≈6.4s flight)
- From
- Corner by the stairs out of T Spawn
- Method
- Jumpthrow
- Lands
- Airburst over the Banana corridor
Lineups compiled from public lineup sites with sources — re-verify in-game; grenade trajectories can shift with patches.
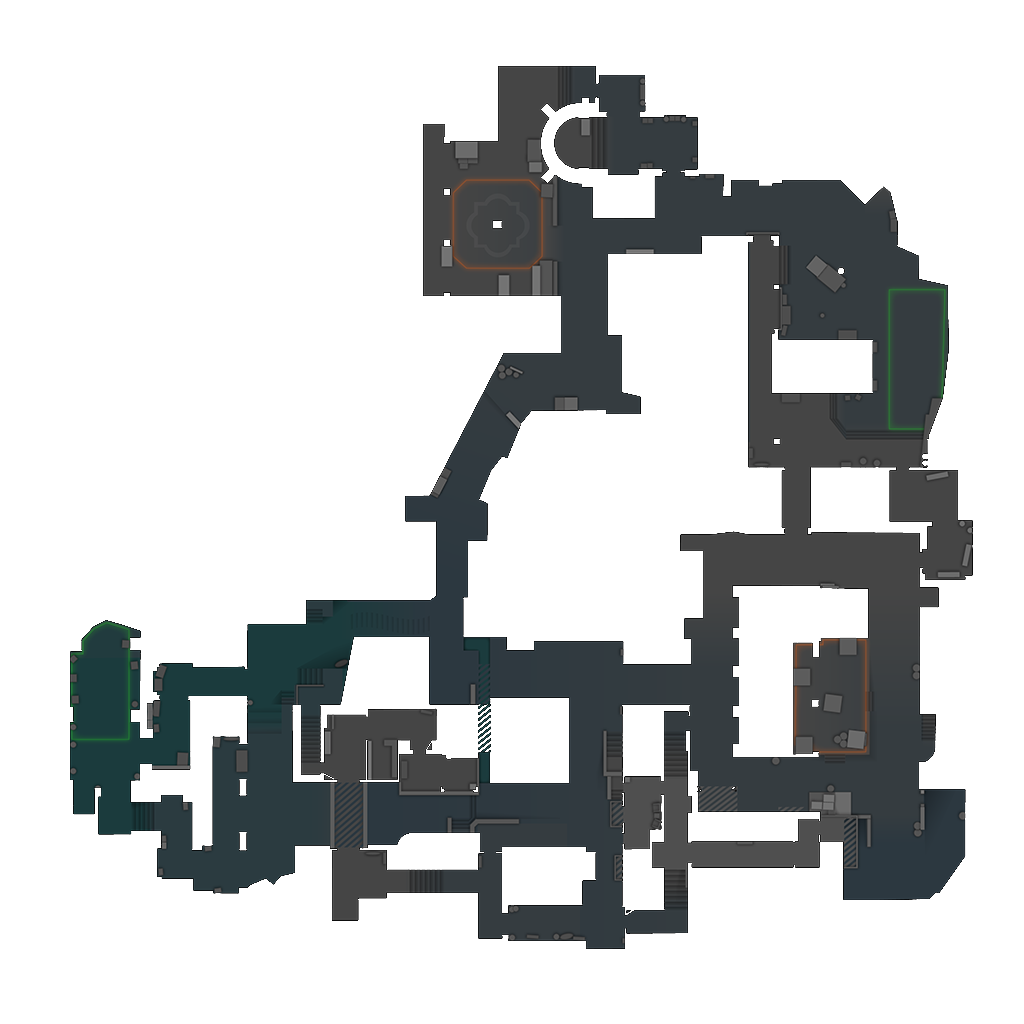
Inferno Callout Map
Note: coordinates for community callout names (Donut, Tomb, etc.) are approximate; official area callouts (A/B sites, CT/T spawn, etc.) use exact in-game data.
Callout List
Long corridor to A
The default A entry through the apartment block
Living Room holds must be naded before entry
CT-side balcony overlooking A Long
Second floor high ground
A bomb plant area
Sunken corner on A site edge
Classic plant-block angle
Mid-to-A archway, the second A entry
The trolley kiosk between Mid and Banana
CTs pre-fire it on rotations
Long B approach
The map’s control objective
B bomb plant area
In-site cover for post-plant crossfires
CT angle on B
Cemetery ledges connecting Mid to B
Mid lane
Counter-Terrorist spawn